Help us improve your experience.

Let us know what you think.

Do you have time for a two-minute survey?


ACX7332 Routing Engine Maintenance

SUMMARY Maintaining an ACX7332 router includes removing and installing the Routing Engine.

The ACX7332 router is shipped with one or two Routing Engines preinstalled in the chassis, depending on the configuration. You can install the Routing Engines in the two bottom slots on the front of the chassis.

Remove the Routing Engine from the ACX7332 Router

Before you remove a Routing Engine, ensure that you have an electrostatic discharge (ESD) grounding strap.

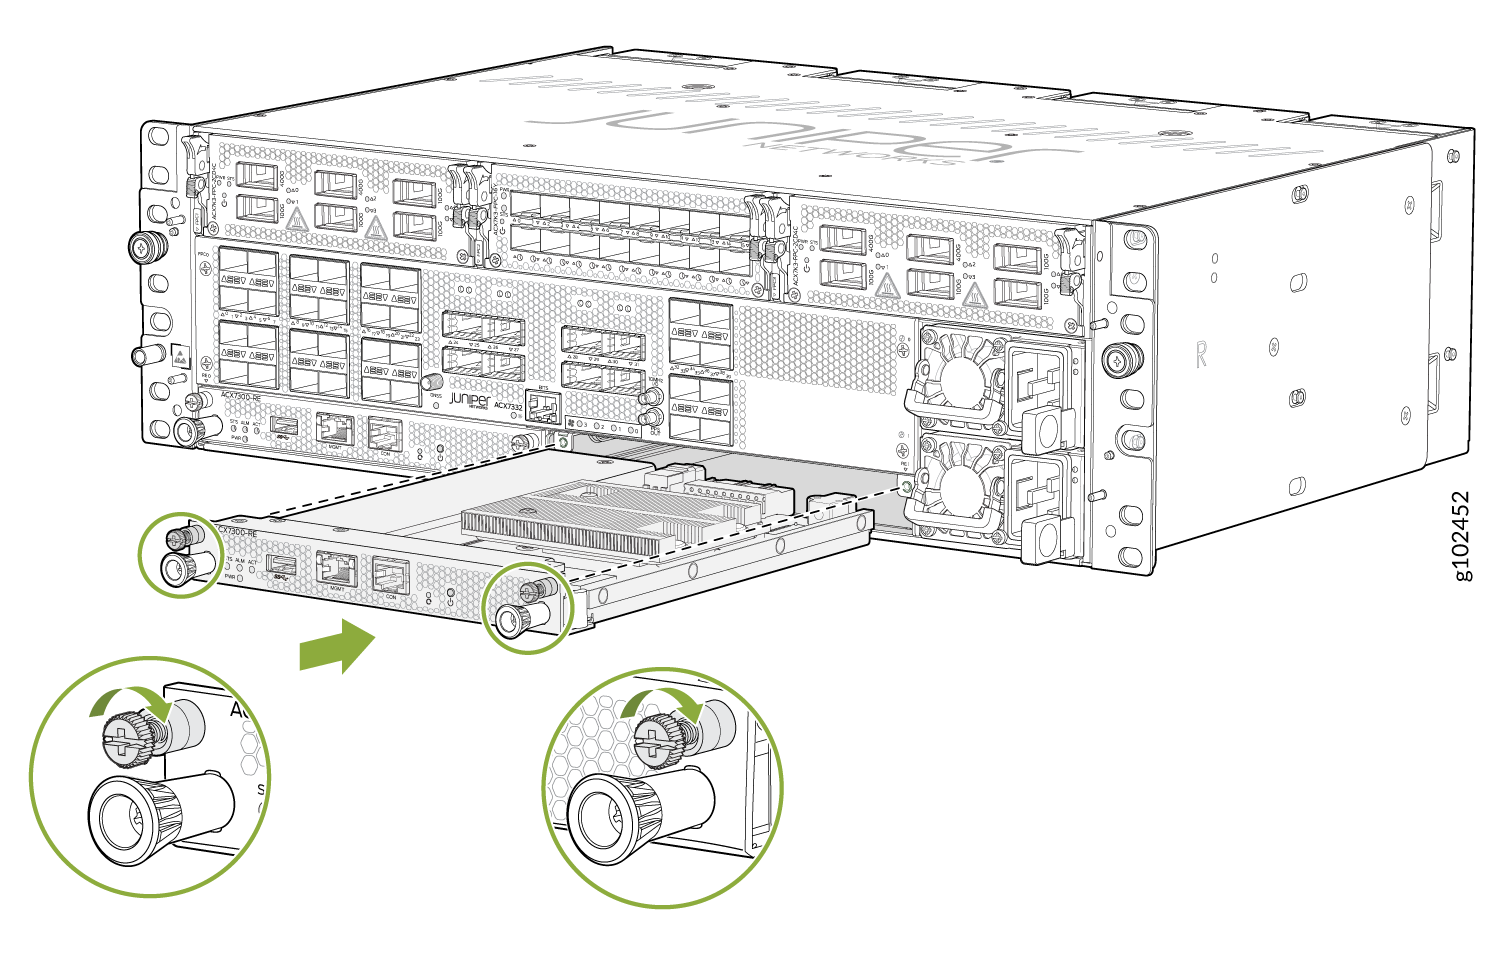
To remove a Routing Engine:

  1. Take the Routing Engine offline.
  2. Place an antistatic bag or antistatic mat on a flat, stable surface.
  3. Wrap and fasten one end of the ESD grounding strap around your bare wrist, and connect the other end of the strap to one of the ESD points on the chassis.
  4. Rotate the thumb screws counter-clockwise to loosen the screws (see Figure 1).
  5. Grasp both ejector handles and slide the Routing Engine about halfway out of the chassis.
    Figure 1: Removing a Routing Engine from the ACX7332 Router Removing a Routing Engine from the ACX7332 Router
  6. Grasp the ejector handle with one hand, and place your other hand under the Routing Engine for support as you slide it completely out of the chassis.
  7. Place the Routing Engine on the antistatic mat.
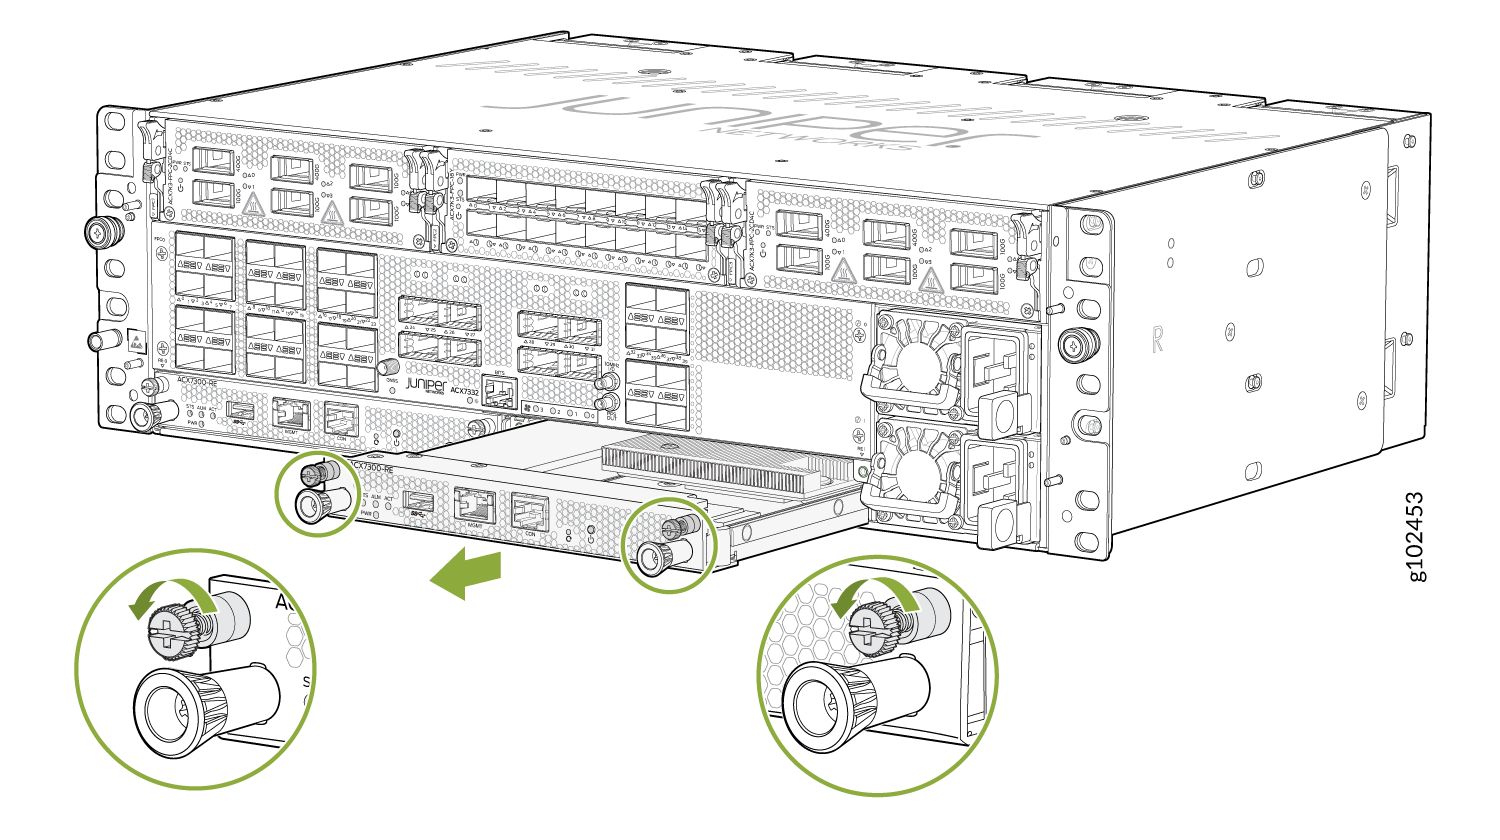
  8. If you are not replacing the Routing Engine immediately, install a cover in the empty slot.
    Figure 2: Installing a Routing Engine Blank Installing a Routing Engine Blank

Install the Routing Engine in the ACX7332 Router

Before you install a Routing Engine, ensure that you have an electrostatic discharge (ESD) grounding strap.

To install a Routing Engine:

  1. Wrap and fasten one end of the ESD grounding strap around your bare wrist, and connect the other end of the strap to one of the ESD points on the chassis.
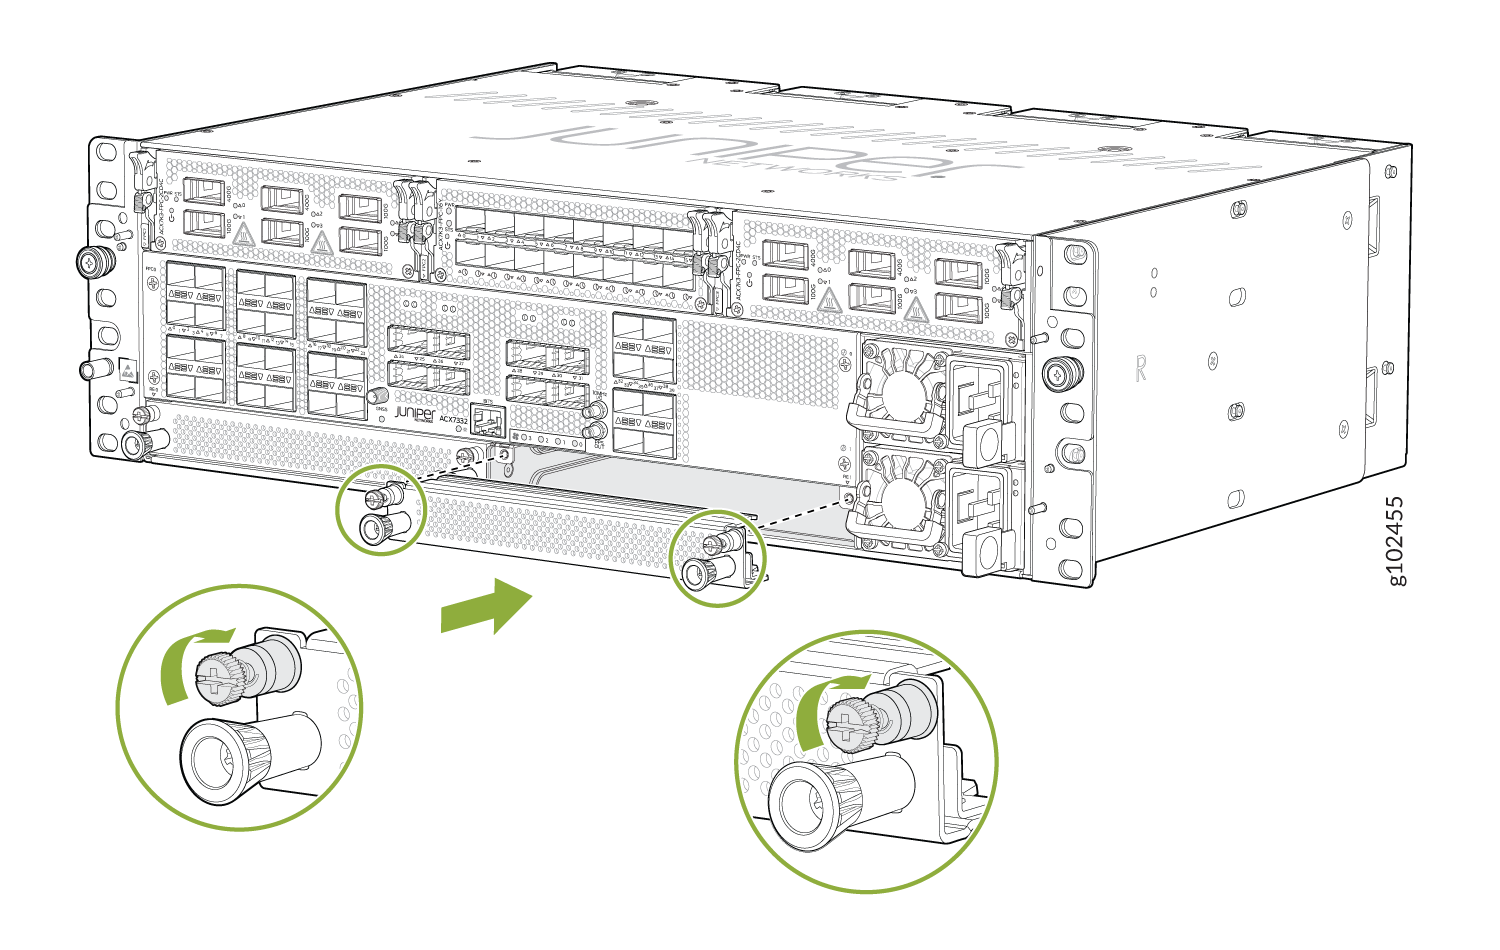
  2. If a Routing Engine blank is installed, press the handles on the blank and gently pull out the blank from the slot.
    Figure 3: Removing a Routing Engine Blank Removing a Routing Engine Blank
  3. Remove the new Routing Engine from the antistatic bag, and inspect it for any damage before installing it in the chassis.
  4. Lift the Routing Engine by its sides, being careful not to bump the connectors.
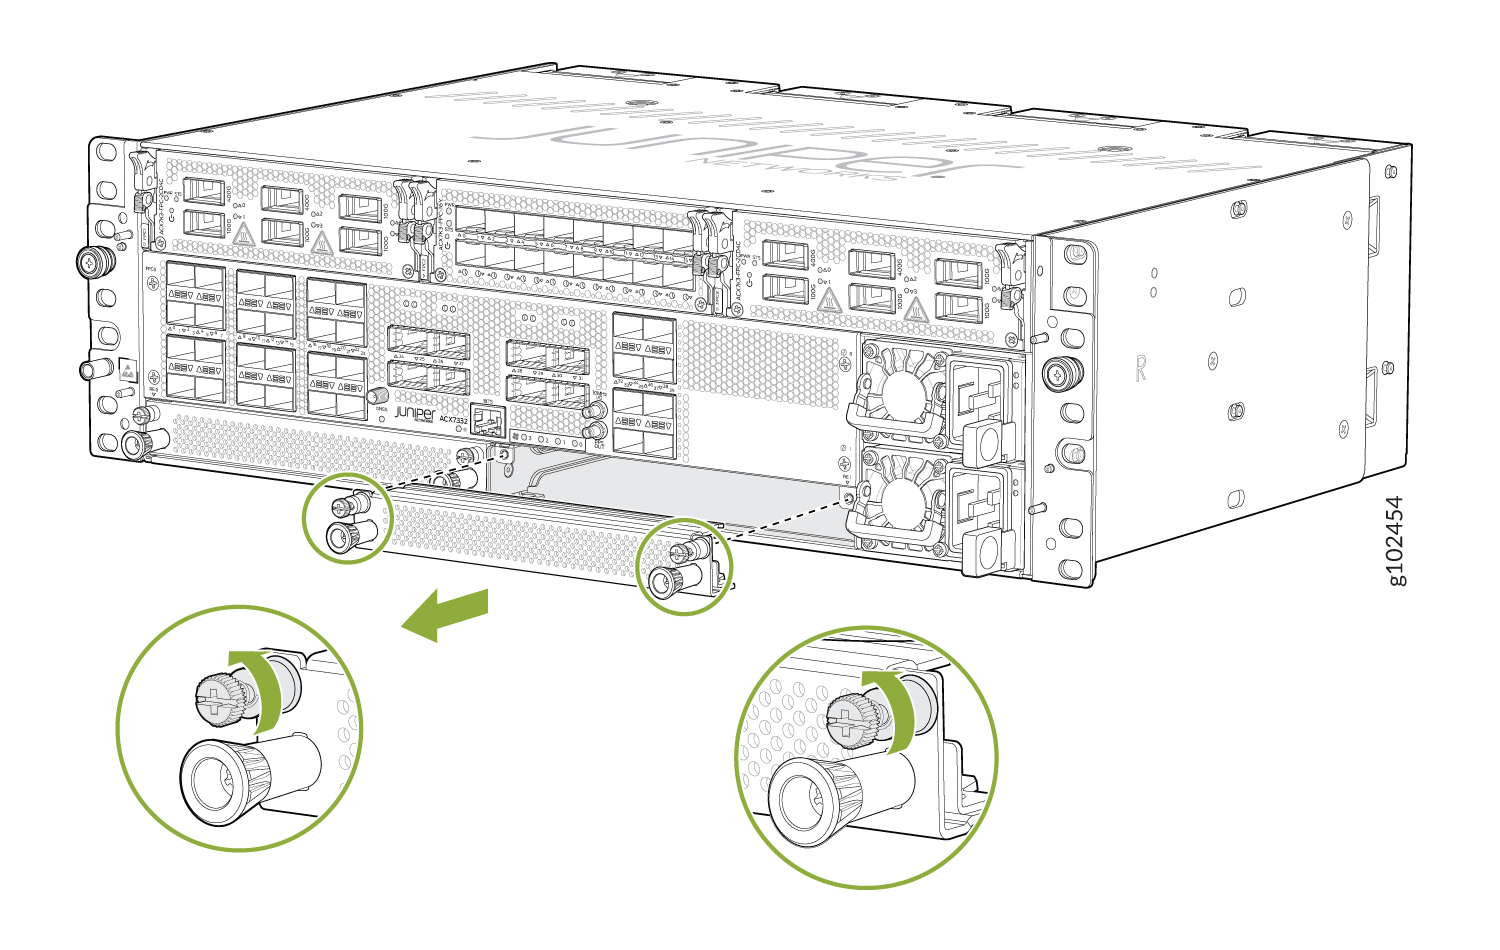
  5. Slide the Routing Engine into the chassis, carefully ensuring that it is correctly aligned.
    Figure 4: Installing a Routing Engine Installing a Routing Engine
  6. Tighten the thumb screws on the left and right of the Routing Engine.
  7. To verify that the Routing Engine is functioning normally, check the PWR LED and the STS LED on its faceplate. Both LEDs should light steadily, shortly after the Routing Engine is installed.