QFX5700 케이블 관리 시스템
QFX5700 케이블 관리 시스템은 다음과 같은 구성 요소로 구성됩니다.
-
케이블 관리자
-
케이블 관리자 어셈블리
-
쟁반
-
잠금 메커니즘
메모:
동일한 모델의 라인 카드를 6개 이상 설치할 때는 반드시 케이블 관리자 어셈블리를 부착해야 합니다.
케이블 관리자를 사용하면 QFX5700 스위치에 설치된 RCB 및 FPC에 연결된 많은 수의 광섬유 및 구리 케이블을 관리할 수 있습니다. QFX5700 섀시의 전면에 설치됩니다. 그림 1 은 QFX5700 케이블 관리자를 보여줍니다.
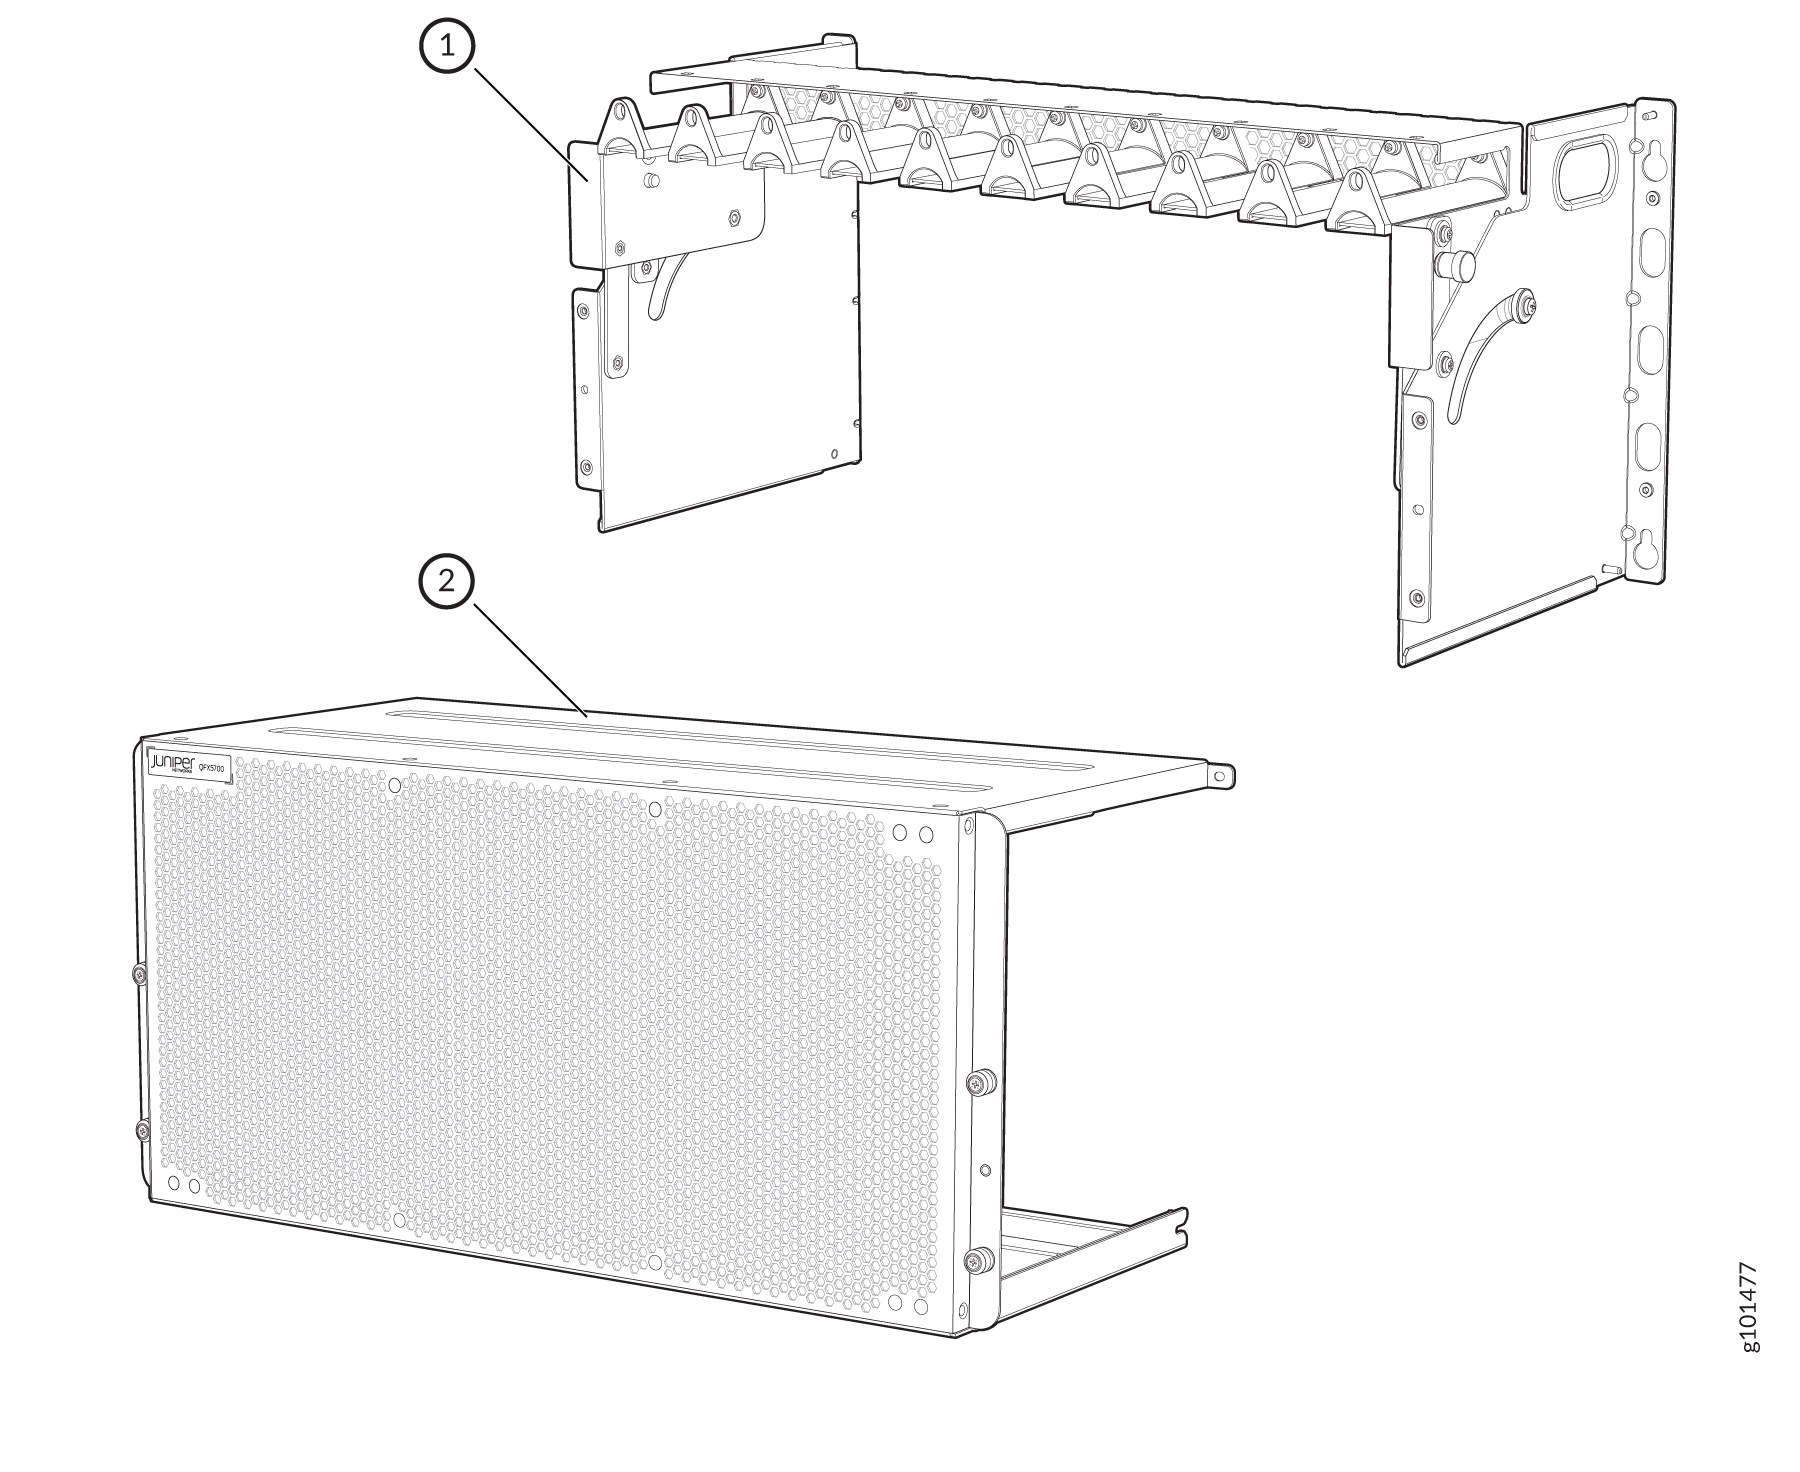
그림 2: EMI 도어
 제거
제거
제거
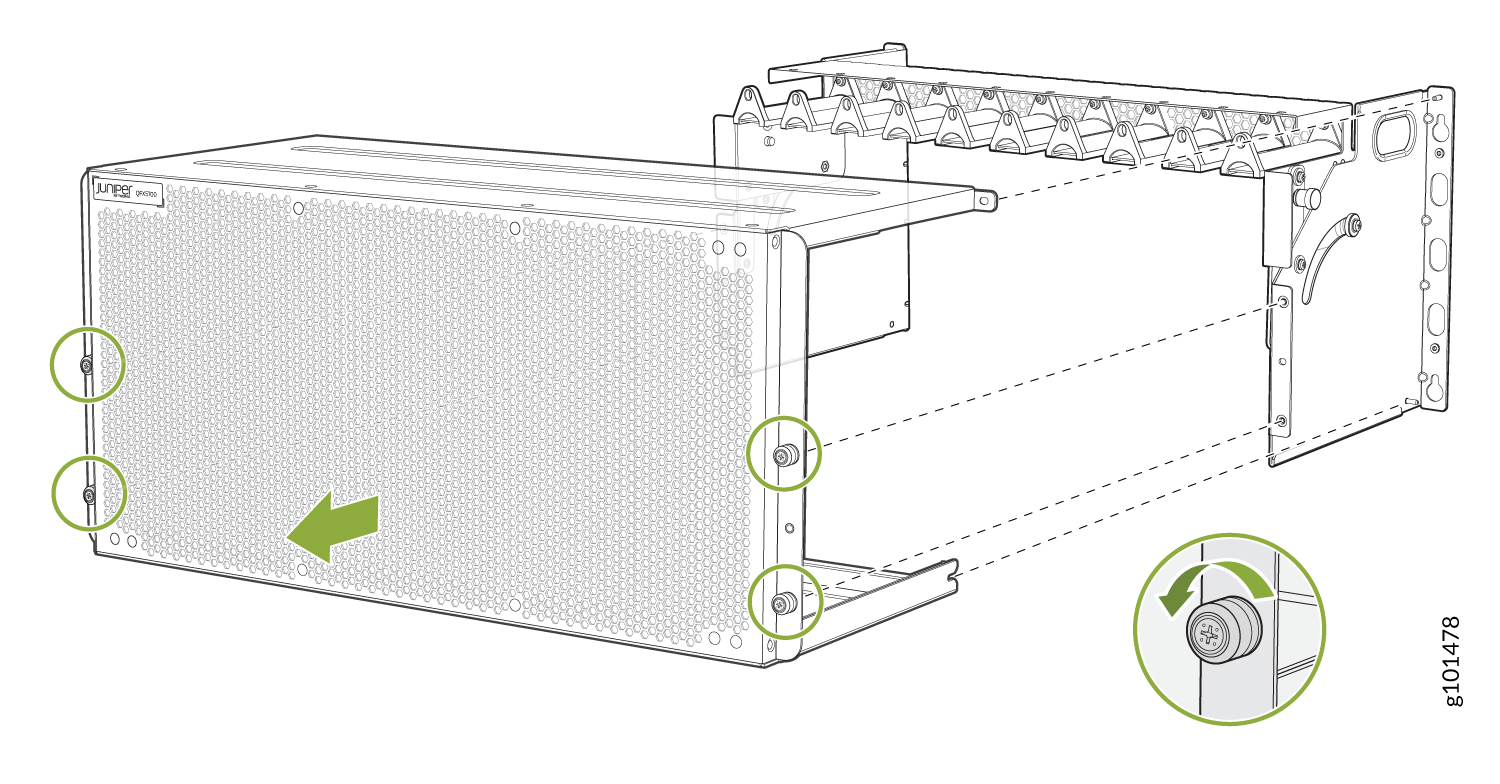
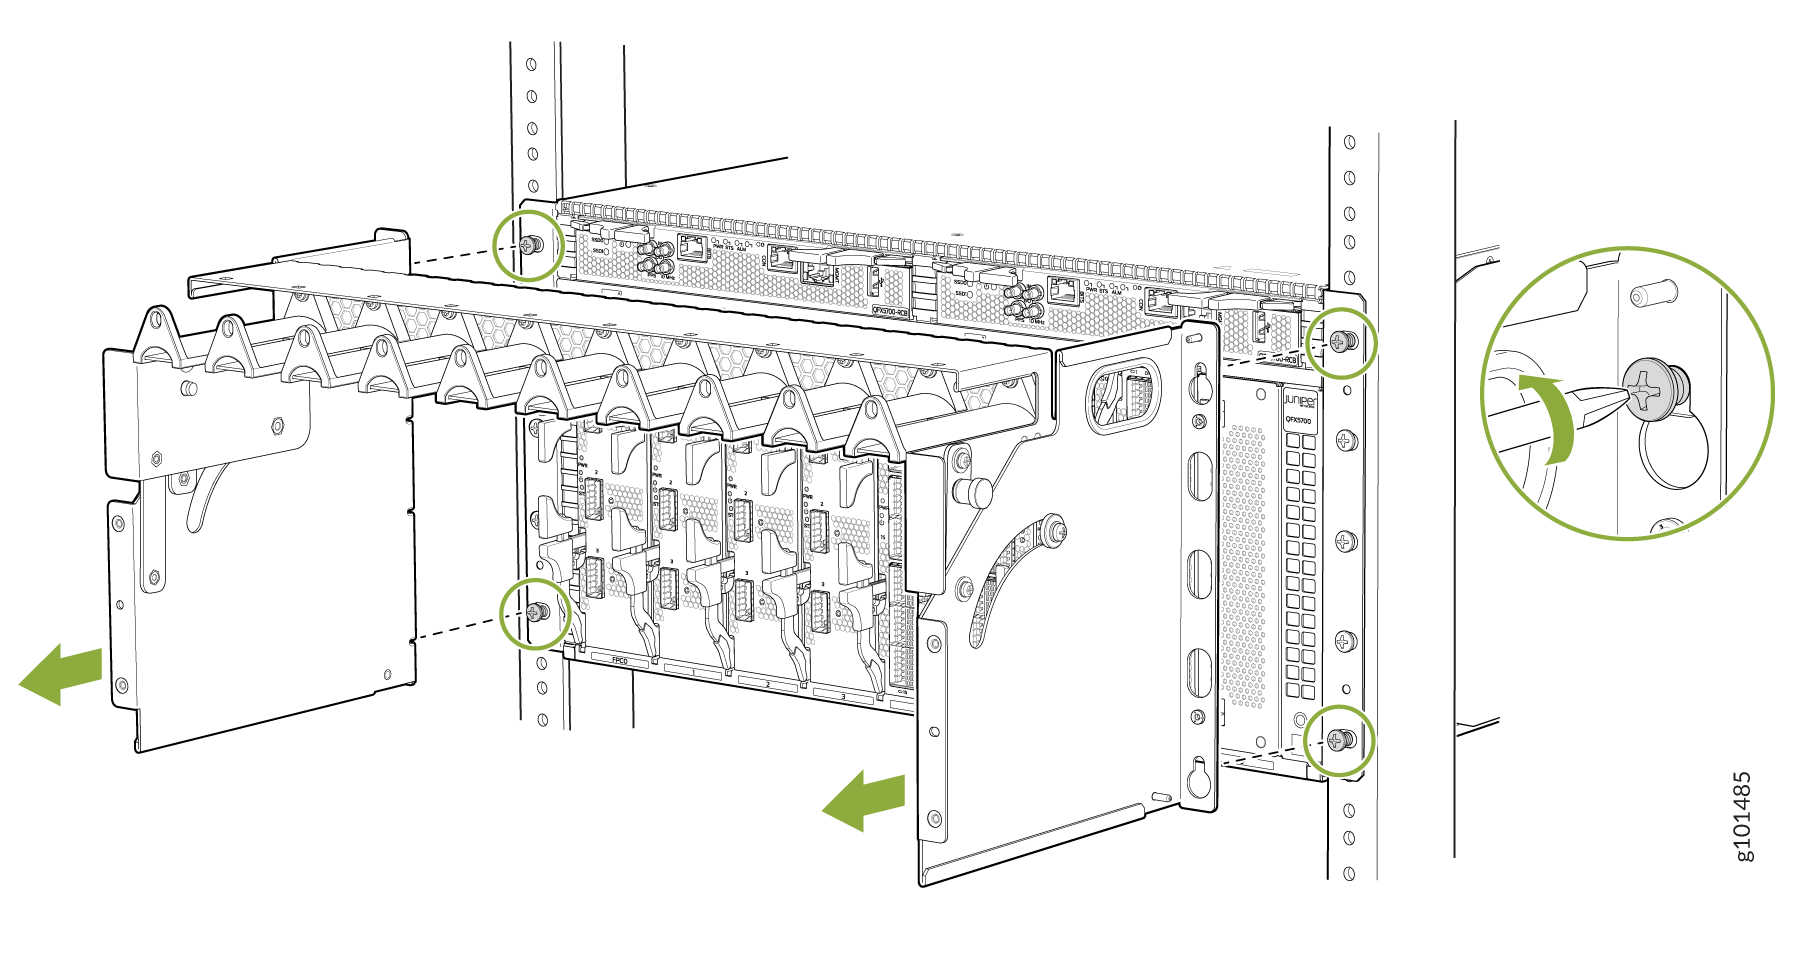
이제 케이블 관리자 어셈블리를 설치할 수 있습니다. 그림 3을 참조하십시오.
그림 3: 케이블 관리자 어셈블리
 설치
설치
설치
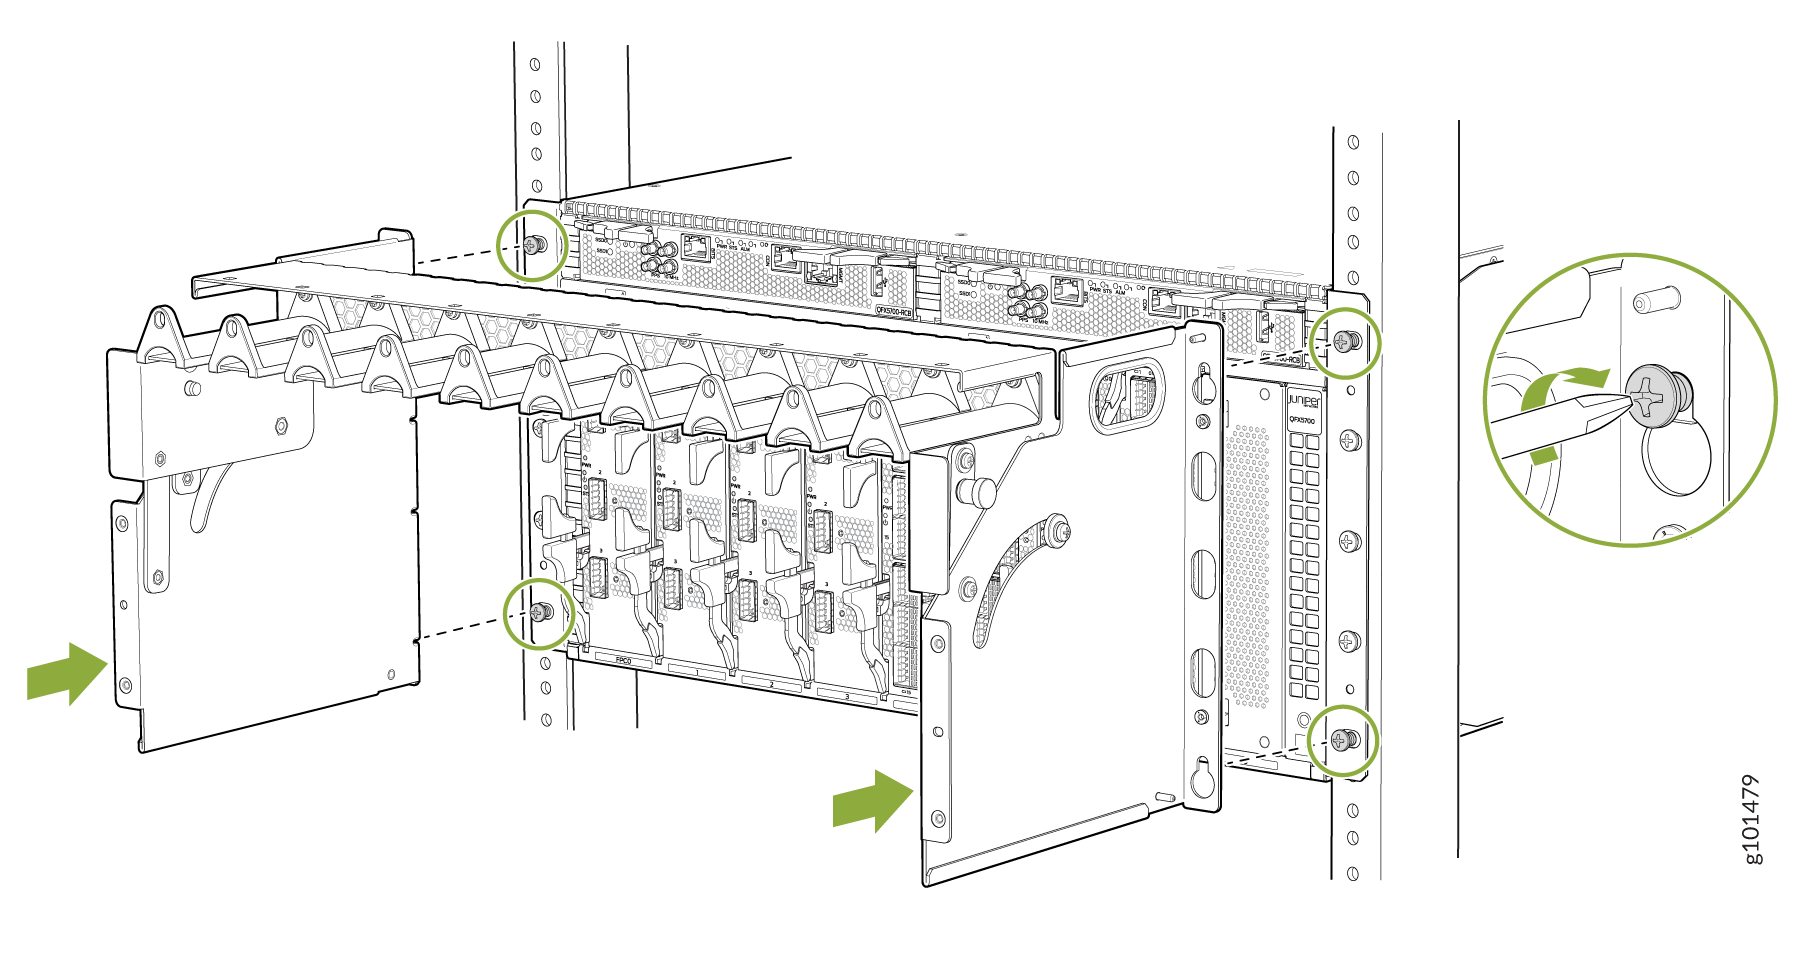
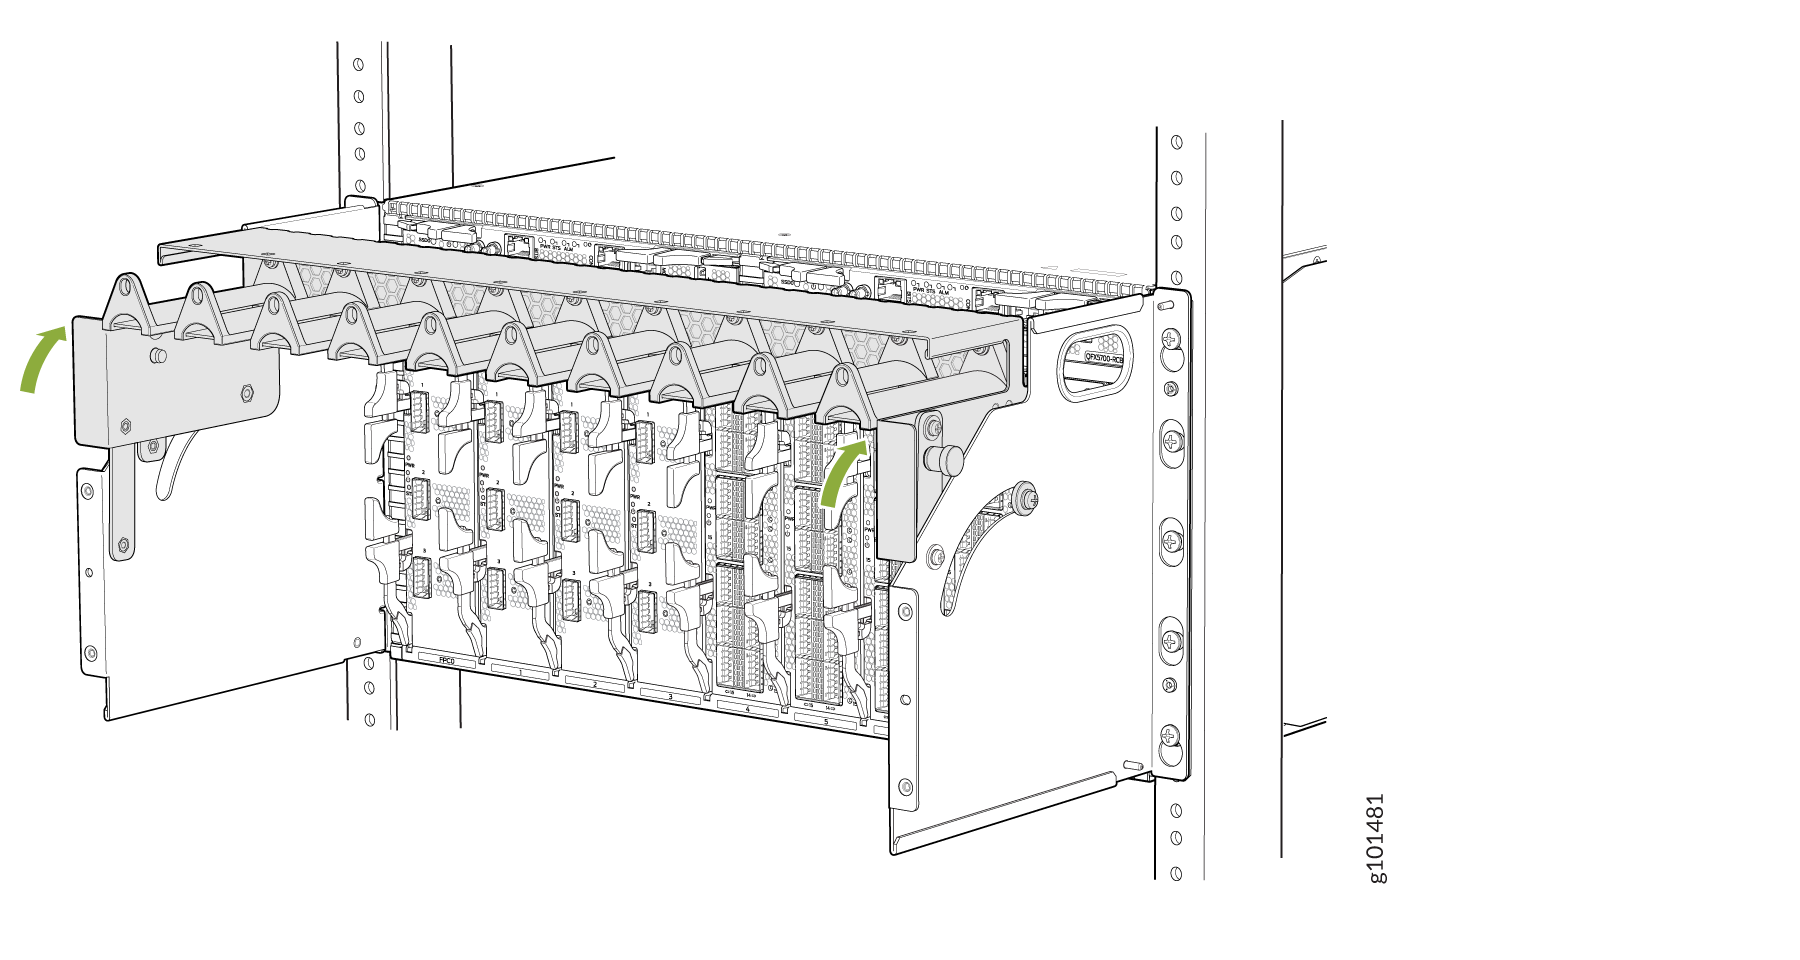
케이블 관리자의 양쪽에 있는 스프링 장착 핀을 당겨 빼내고 트레이를 아래로 움직여 RCB에 액세스합니다. 그림 4를 참조하십시오.
그림 4: RCB
 에 액세스하기 위해 트레이 이동
에 액세스하기 위해 트레이 이동
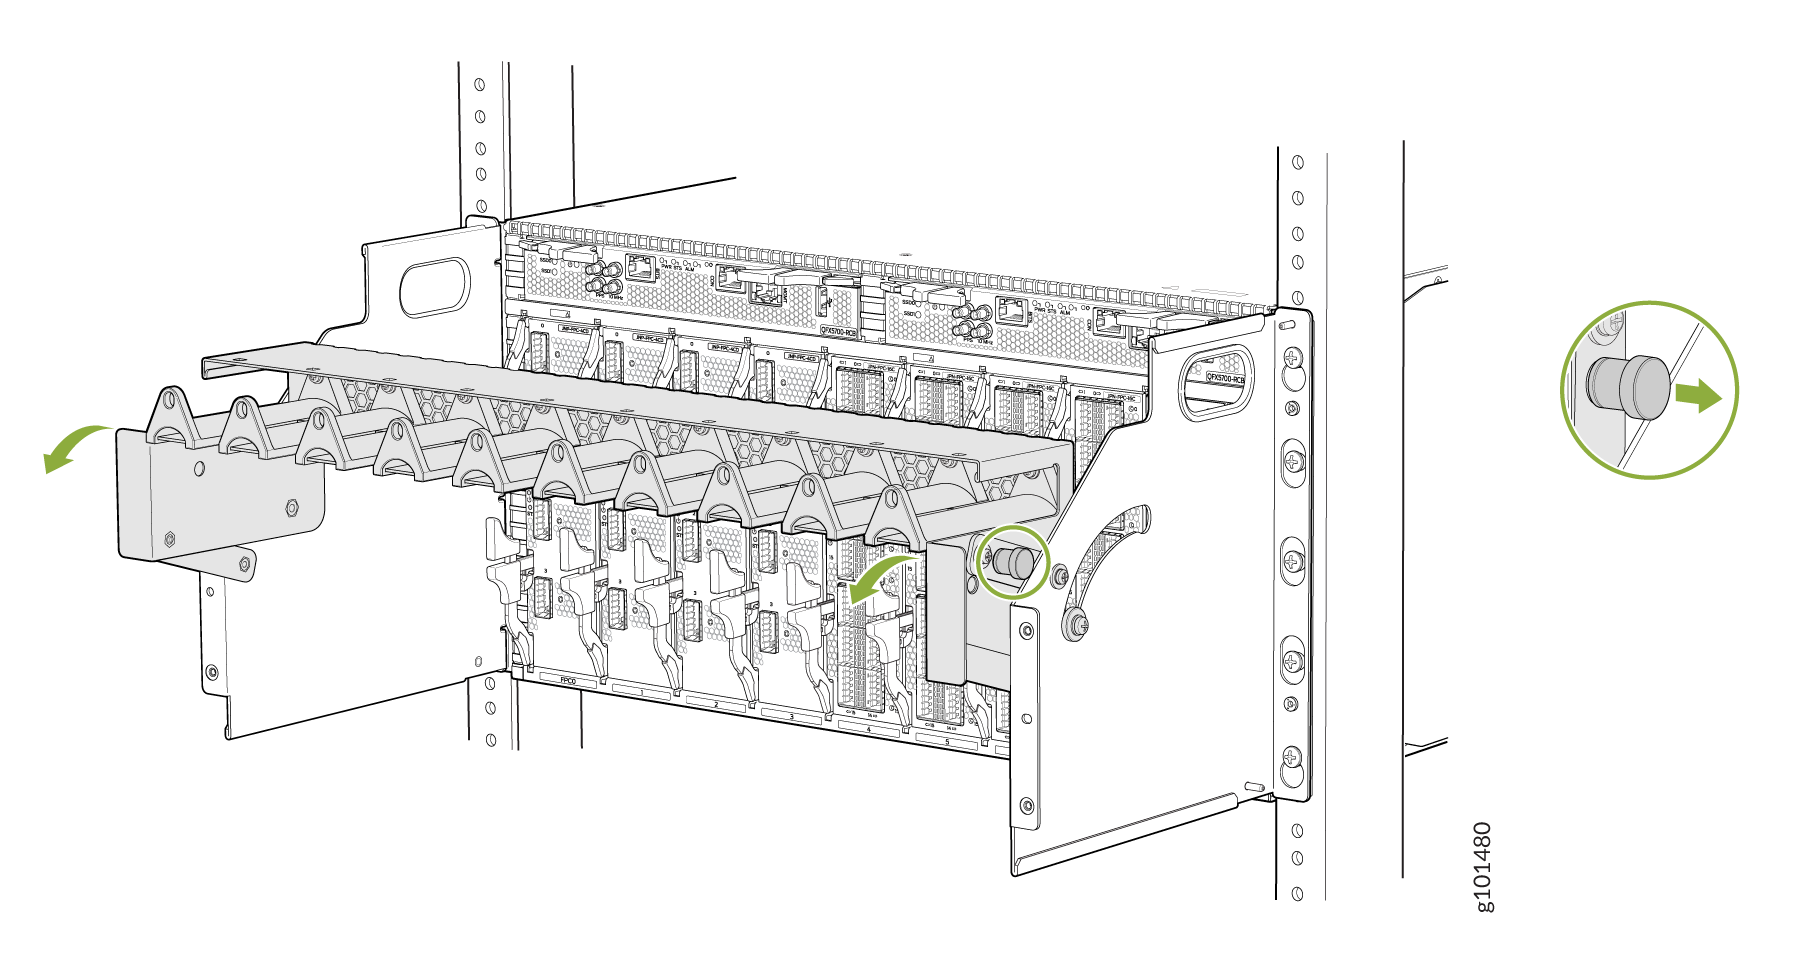
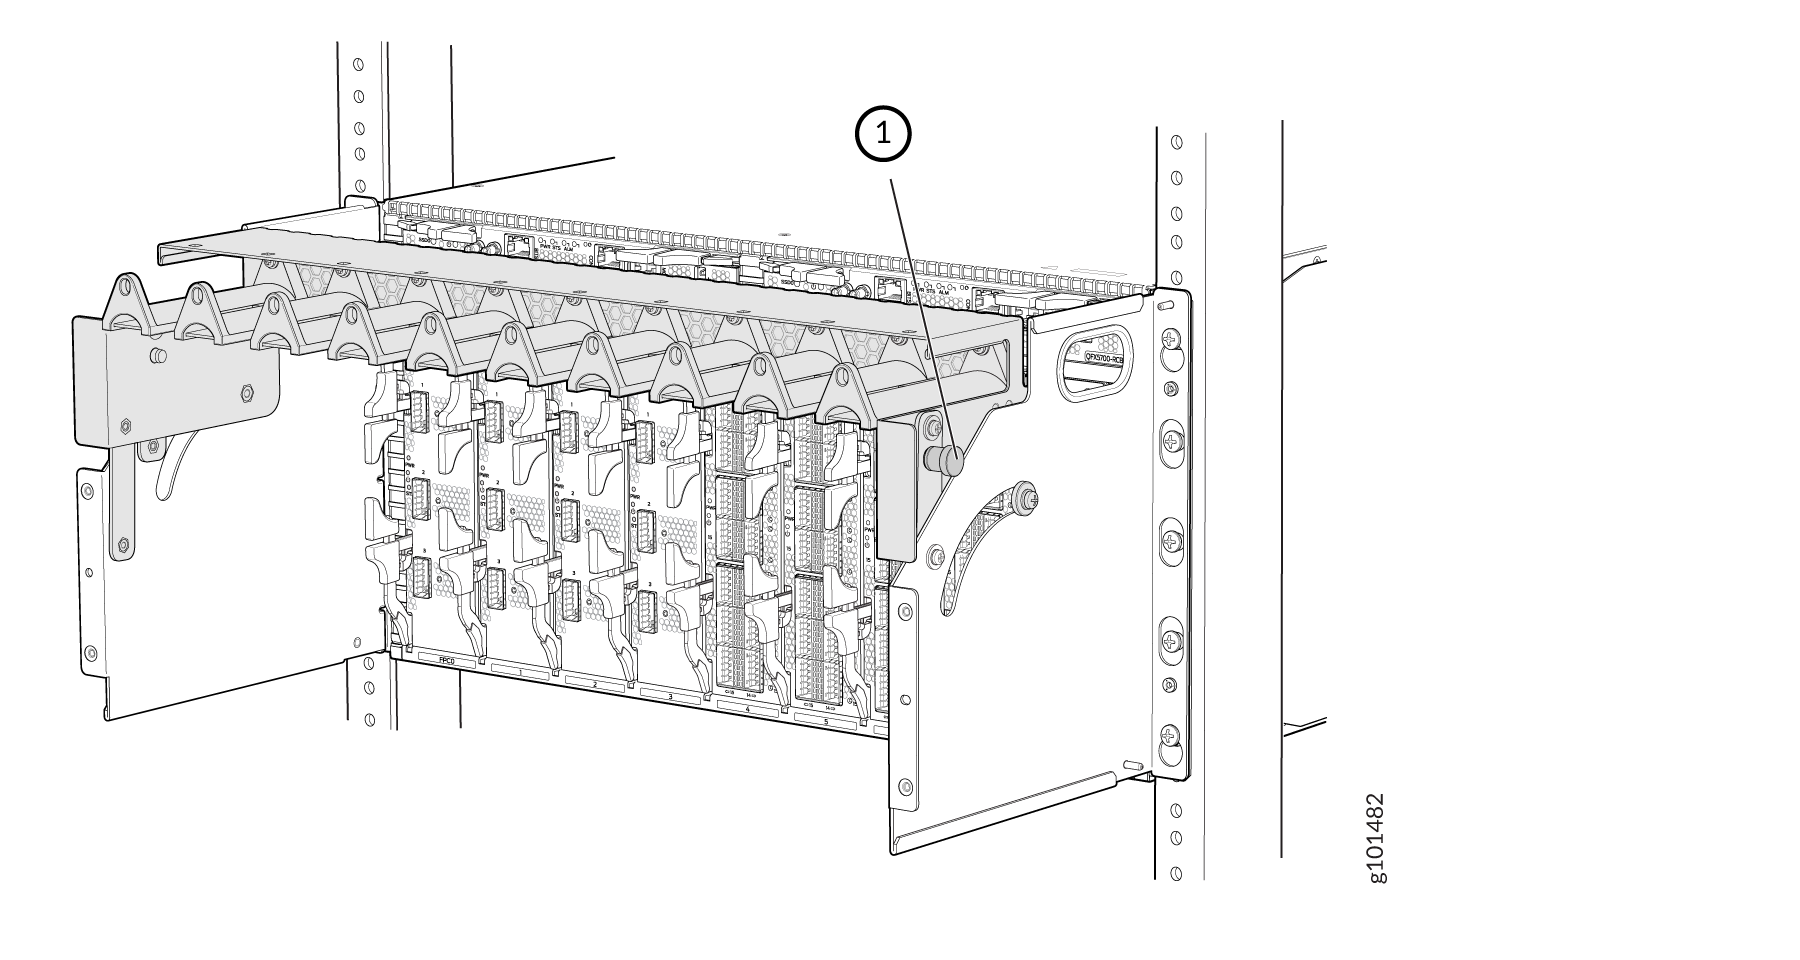
FPC에 액세스하려면 트레이를 이동해야 합니다. 그림 5를 참조하십시오.
그림 5: 트레이를 이동하여 FPC
 에 액세스
에 액세스
에 액세스
이제 케이블 관리자를 잠급니다. 그림 6을 참조하십시오.
그림 6: 케이블 관리자
 잠금
잠금
잠금
케이블 관리자를 통해 케이블을 라우팅하는 방법을 이해하려면 그림 7 과 그림 8 을 참조하십시오.
그림 7: 케이블 관리자
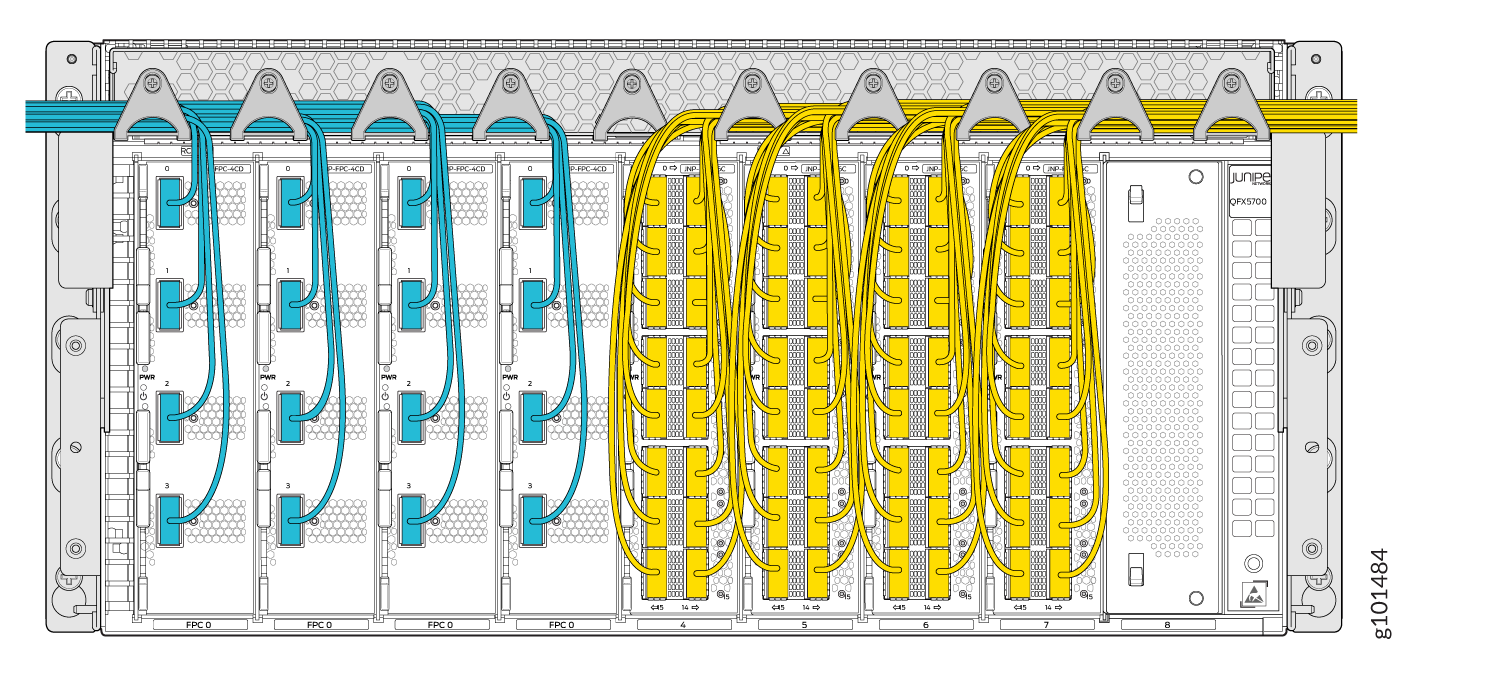 를 통해 케이블 라우팅
를 통해 케이블 라우팅
케이블 관리자를 사용하여 케이블을 라우터화했으면 케이블 관리자 덮개를 조립합니다.
그림 8: 케이블 관리자 덮개
 조립
조립
조립
그림 9 는 케이블 관리자를 제거하는 방법을 보여줍니다.
그림 9: 케이블 관리자
 제거
제거
제거