Policy Enforcerリリース23.1R1をPolicy Enforcerリリース24.1R1に移行します。
Junos Space Security Directorリリース24.1R1以降、スタンドアロンのPolicy Enforcerを使用することはできません。Security Director Insights 24.1R1で実行されているPolicy Enforcerに移行する必要があります。
スタンドアロンのPolicy Enforcerリリース23.1R1データをSecurity Director Insights 24.1R1に移行する必要があります。
Policy Enforcerの移行手順は、既存のバックアップおよびリストア機能に基づいています。
手記:
スタンドアロンのPolicy Enforcerリリース23.1R1データをSecurity Director Insights 24.1R1に移行する必要があります。
スタンドアロンのPolicy EnforcerをSecurity Director Insights Policy Enforcerに移行する前に、まずJunos Spaceネットワーク管理プラットフォーム 23.1R1またはSecurity Director 23.1R1からJunos Spaceネットワーク管理プラットフォーム 24.1R1またはSecurity Director 24.1R1にアップグレードする必要があります。
アップグレード手順の詳細については、 Junos Spaceネットワーク管理プラットフォームリリース24.1R1へのアップグレードを参照してください。
スタンドアロンのPolicy EnforcerをSecurity Director InsightsのPolicy Enforcerに移行するには:
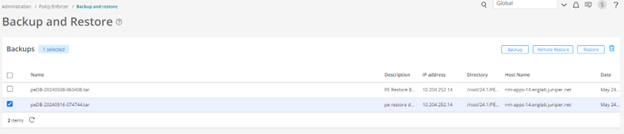
- 図 1 に示すように、復元プロセスを開始します。
図1:バックアップと復元の
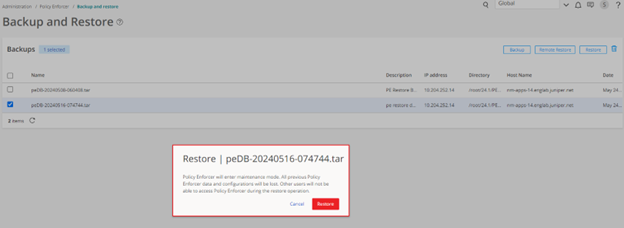
- 図 2 に示すように復元プロセスが完了したら、Policy Enforcer を再度追加します。
図2:ステータス
 の復元
の復元
- [管理] > Policy Enforcer > 設定に移動し、設定ウィンドウで必要な詳細を入力して [OK] をクリックします。詳細については、図 3 を参照してください。
図3:Policy Enforcer
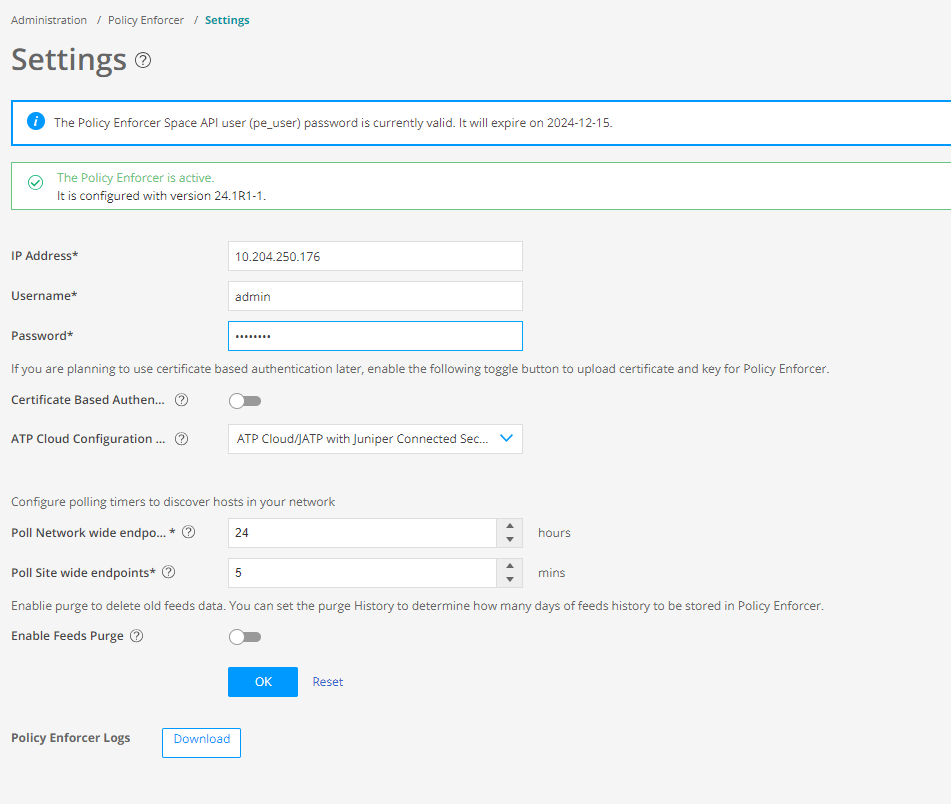 の再追加
の再追加
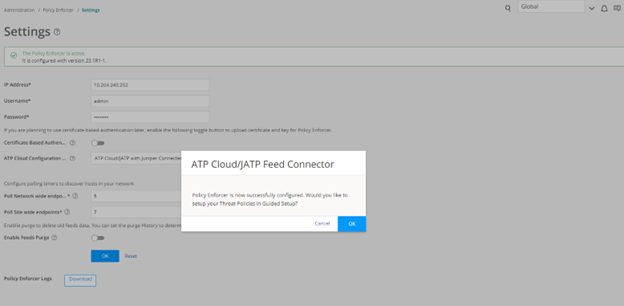
- Policy Enforcer を構成すると、図 4 に示すように、ガイド付きセットアップで脅威ポリシーを設定するかどうかを確認するプロンプトが表示されます。[OK] をクリックしますが、脅威ポリシーのガイド付き設定は冗長であるため無視してください。
図4:脅威ポリシーの防御
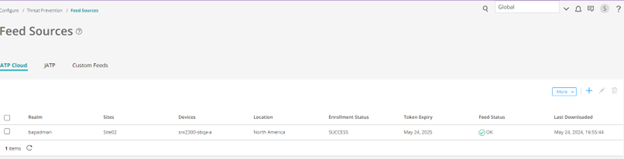
- レルムがいつの間にか同期し、フィードの状態が OK であることを確認します (図 5 参照)。
図 5: フィード ソース
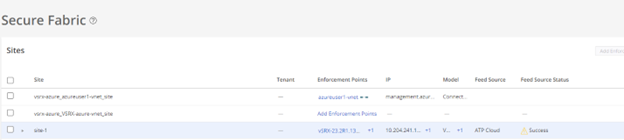
- [Secure Fabric > Sites] に移動し、[Feed Source Status] に [Success] と表示されているかどうかを確認します。詳細については、図 6 を参照してください。
図6:セキュアファブリック
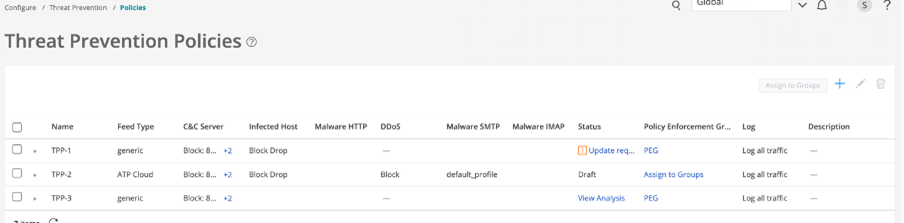
- [Configure > Threat Prevention > Policies> Threat Prevention Policies]に移動し、バックアップから回復したポリシーのステータスを確認します。詳細については、図 7 を参照してください。
図7:脅威防御ポリシー
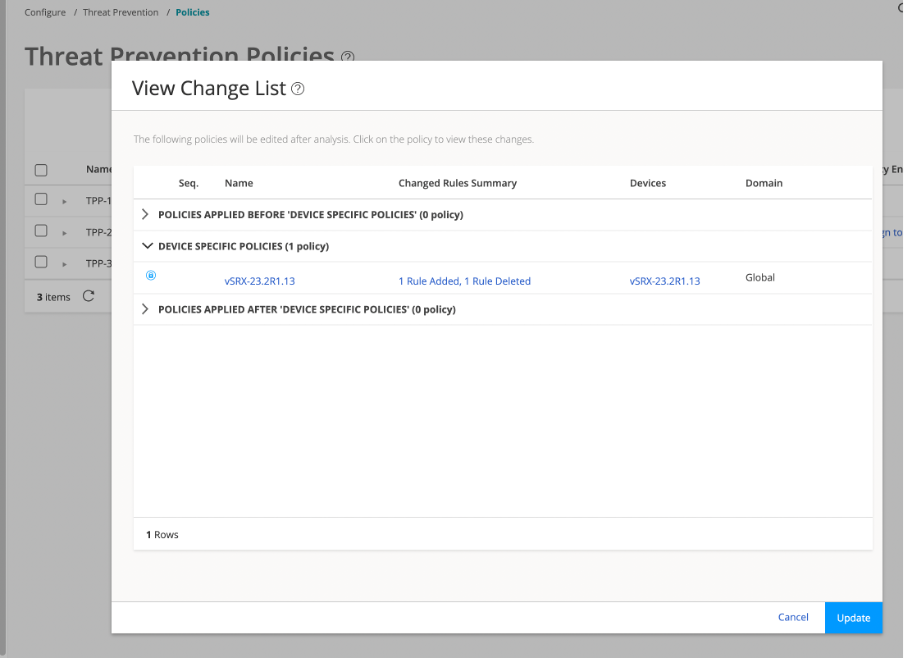
- [脅威防止ポリシー] の [ステータス] タブで [更新が必要] をクリックし、更新を続行します。
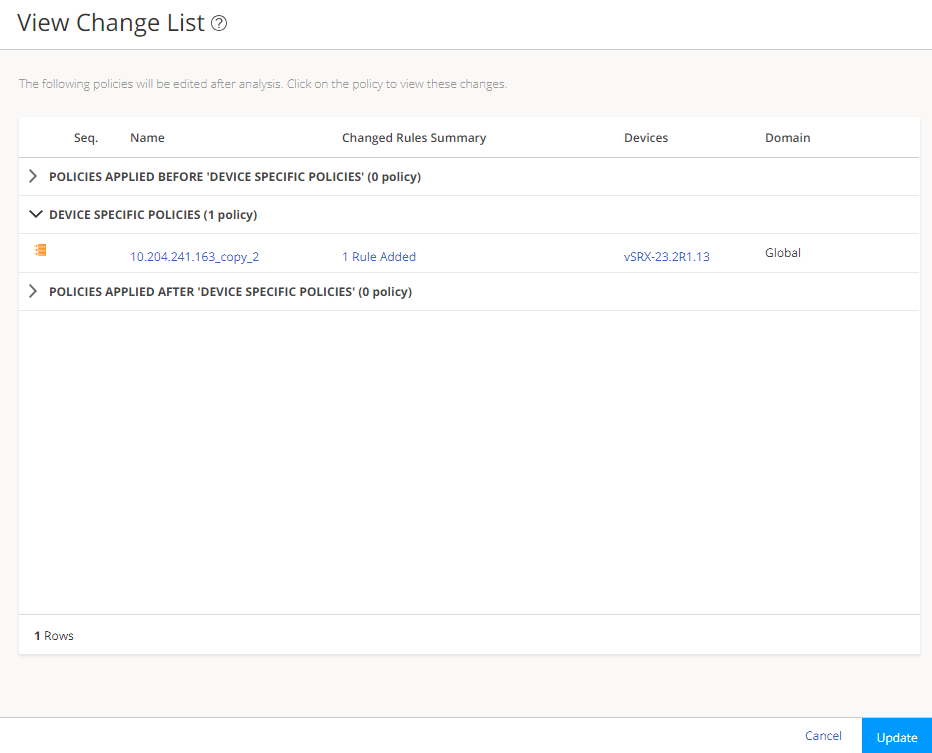
古いポリシーは新しいポリシーに置き換えられます( 図8参照)。図 8: ポリシー変更リスト
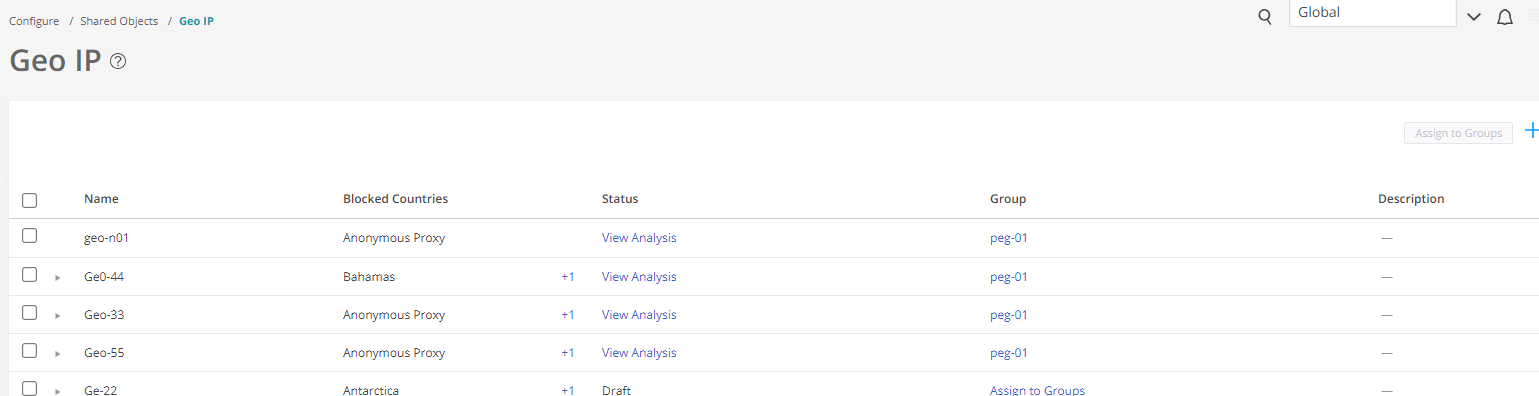
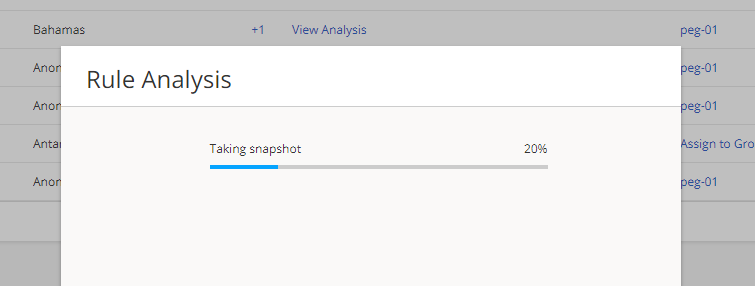
- [Configure > Shared Objects > Geo IP] に移動し、Geo IP 分析を実行して、生成されたポリシーをデバイスに更新します。詳細については、図 9 を参照してください。
図9:地域IP
- 図 10 に示すように、[Administration > Policy Enforcer > Connectors] に移動します。
図10:コネクタ
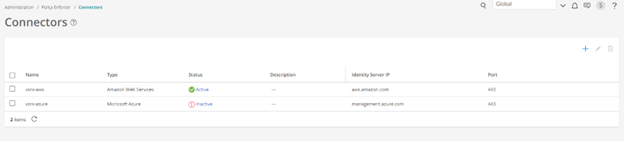 コネクタのステータスは、デフォルトで [非アクティブ ] と表示されます。