Creating a Virtualized Instance of CTPView Server on a Hyper-V Server
To create a virtualized CTPView server in a Hyper-V environment:
- Install Hyper-V server on your system. We have taken Windows Server 2016 as the candidate for illustration purpose.
- Copy the ISO files. For example, you will need CentOS_CTPView_7.3R7-1_210302_CD.iso for 7.3R7-1 CTPView and centOS-7-x86_64-DVD-1804.iso for 9.x CTPView , at the Hyper-V datastore at the path
C:\Users\Administrator\Downloads. You can use any other path to store ISO files. - To open Hyper-V Manager, click Hyper-V in Server
Manager.
Right click Hyper-V server.
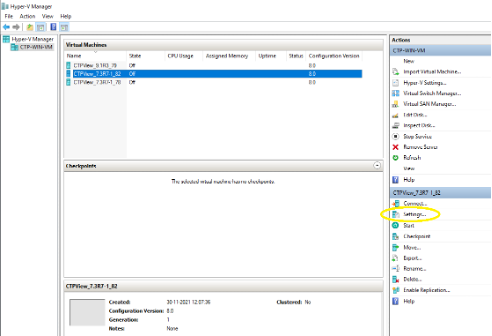
Click Hyper-V Manager as shown, or you can access it by searching with the keyword “Hyper-V Manager” from the start menu.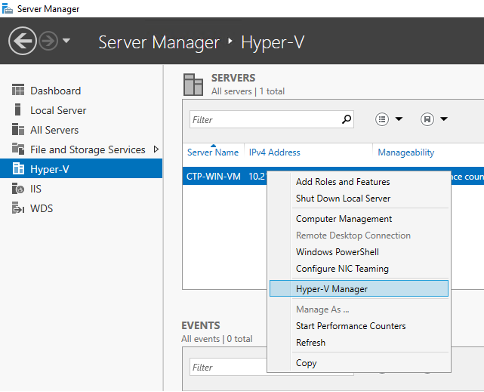
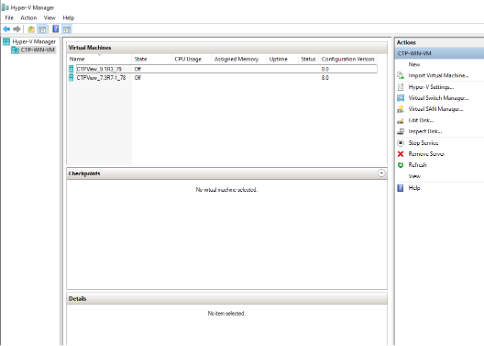
- Click New > Virtual Machine in the
Actions pane to create a new VM as shown below.
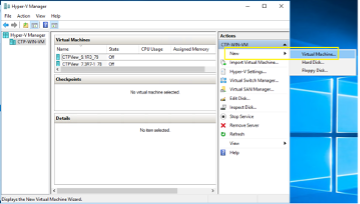
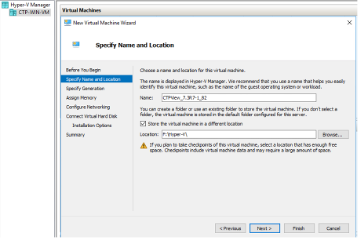
- Click Next to create a VM with a custom configuration.
- Enter a name and location for this VM. Then click Next.
- Select Generation 1 as it is suitable for both
32-bit and 64-bit guest operating systems and click Next.

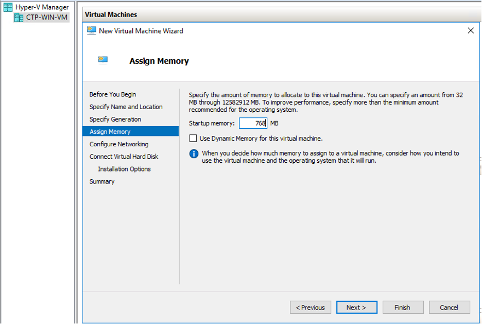
- Enter memory size as 768 MB for “7.x CTPView”
and 4 GB in case of “CentOS 7 (9.x CTPView)” and then
click Next. Uncheck “Use Dynamic Memory for this virtual machine”
check box if selected. This is applicable only for nested virtualization.
Click “Next”.
- Leave Network configuration as “Not Connected”.
You need to add Legacy Network Adapter as the default Network Adapter
is not supported in CTPView. There is no option to add Legacy Network
Adapter at this stage. You can add this after creating the virtual
machine.
Click “Next”.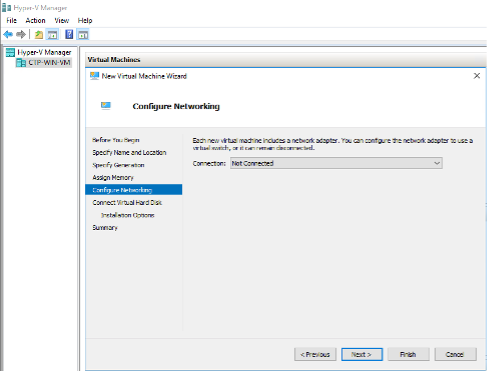
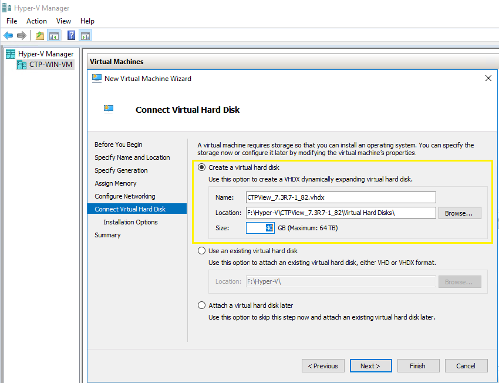
- Choose disk size as 40 GB for “7.x CTPView”
and 80 GB in case of “CentOS 7 (9.x CTPView)” and create
a virtual hard disk as shown.
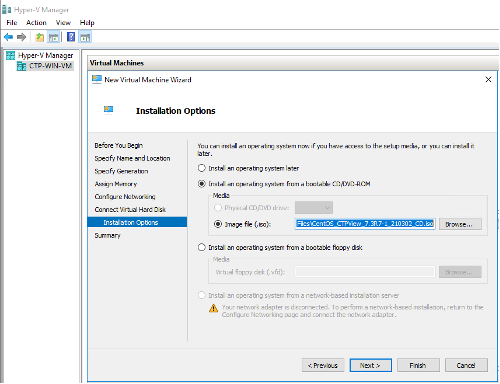
- Select installation from CD/DVD-ROM and specify the full
path of the required installation image file (.iso). Click “Next”.
- Summary of VM configuration will be displayed. Click Finish to create the Virtual machine.
- Select the VM and click Settings in the Actions pane.
- Settings window is displayed.
Select 2 Virtual processors.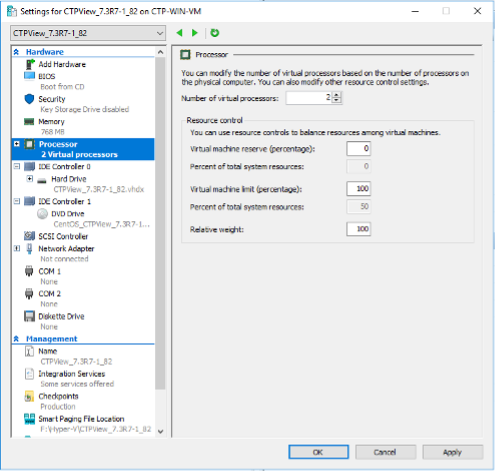
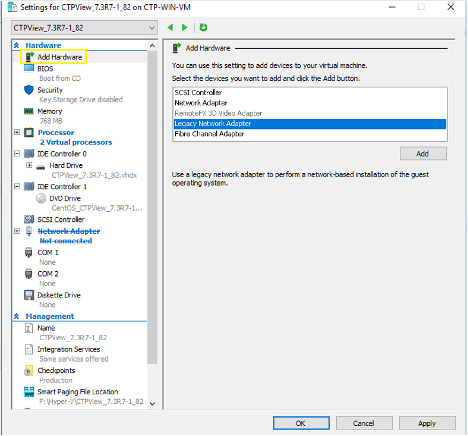
- Delete the Network Adapter which is present by default,
and select Legacy Network Adapter option under “Add
Hardware” in the “Hardware” pane. Then click Add, A popup window is displayed.
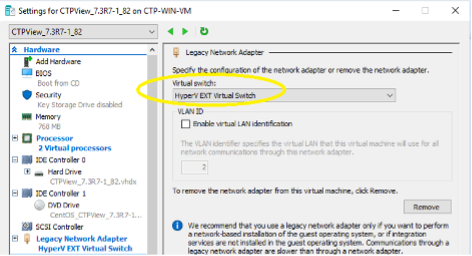
- Select the Virtual Switch which was created while installing
the Hyper-V service. In this case, Virtual Switch name is HyperV EXT Virtual Switch.
- For 9.x CTPView, configure 2 Legacy Network Adapters. After changing these hardware settings, click OK.
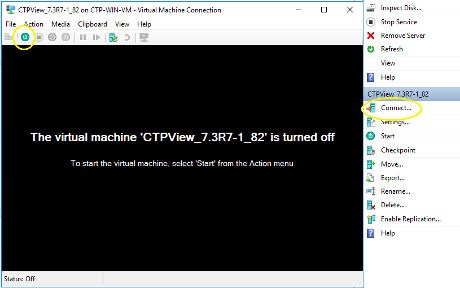
- Select the VM and click Connect in the Actions
pane to open VM console. Then start the virtual machine.
- In case of CentOS 7 (9.x CTPView) installation, select
“Install centOS Linux 7” and complete the installation.
See Creating a Virtualized Instance of CTPView Server on an ESX Server for detailed information
on CentOS 7 installation procedure.
Install 9.x CTPView RPM on top of CentOS 7.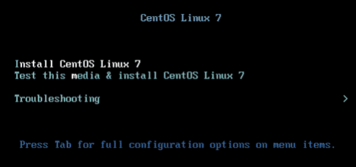
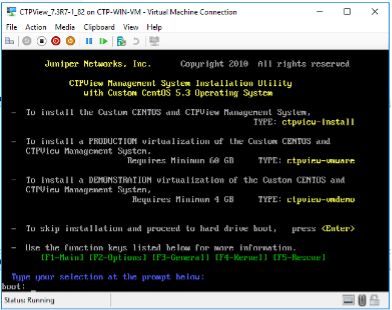
- In 7.x CTPView, at the prompt “boot:”, enter
your installation choice as “ctpview-install”.
- VM will reboot after 20~30 minutes.
It will display the same boot options.
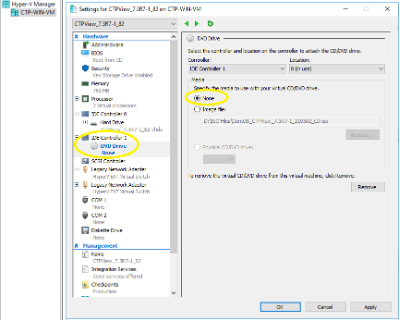
At this stage, turn off the VM and go to “Settings” in the Actions pane. - Click on DVD Drive and select None option and apply the
settings.
Note This step is not applicable to Centos 7 installation.
- Start the VM and configure basic settings, such as the IP address and hostname using the CTPView CLI menu.